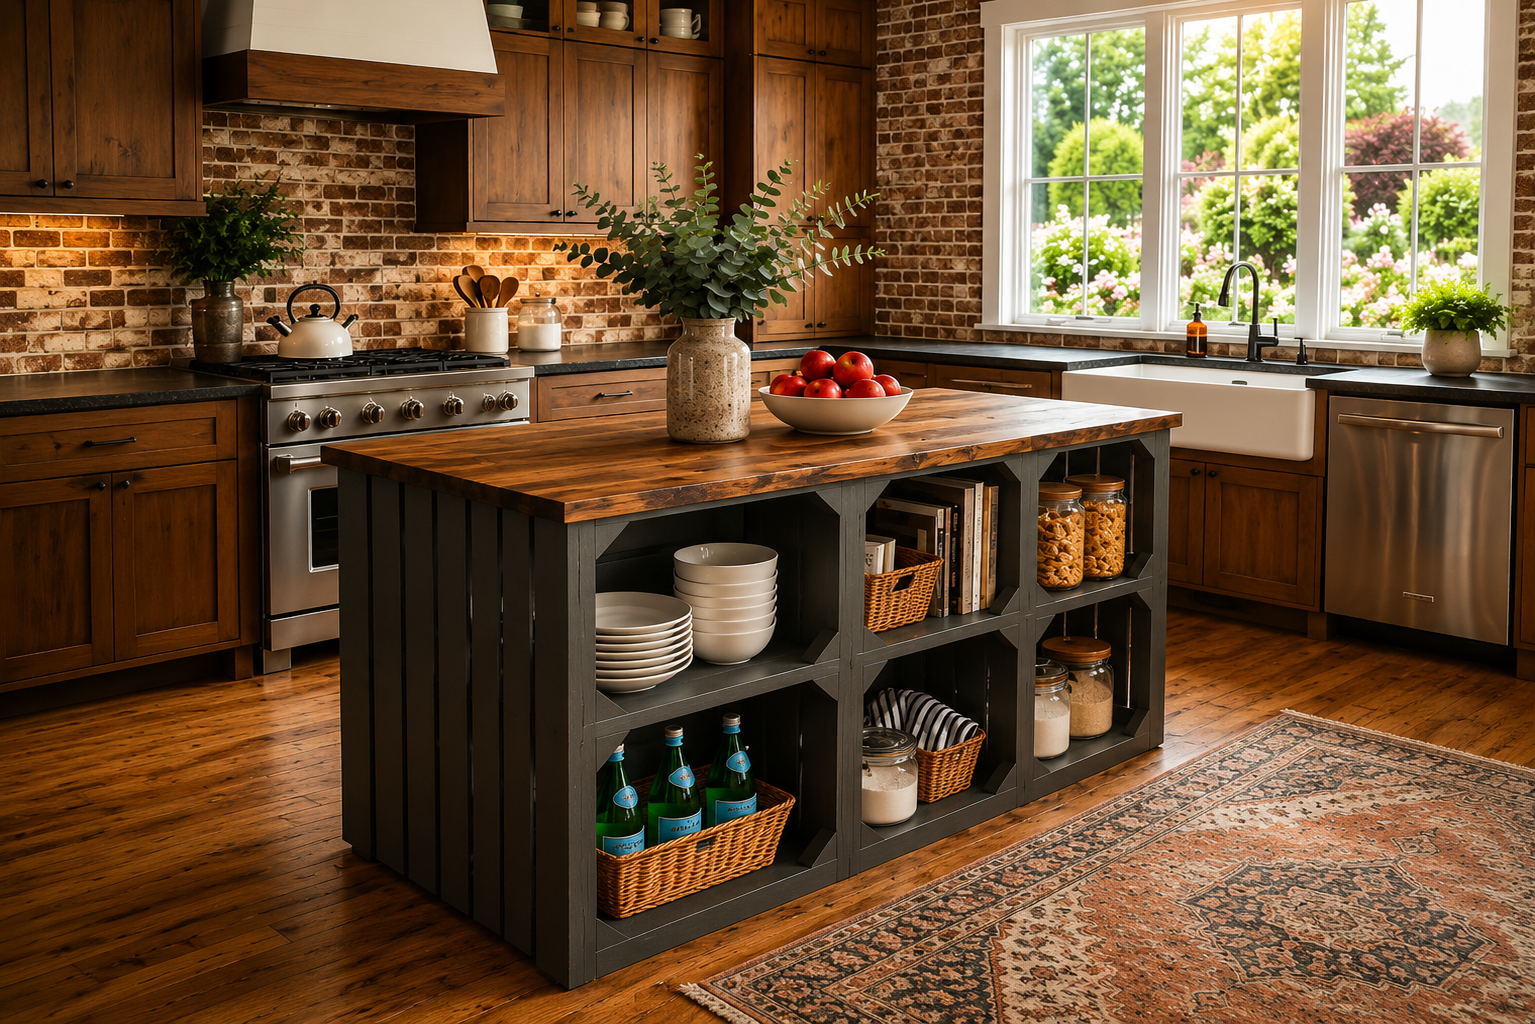
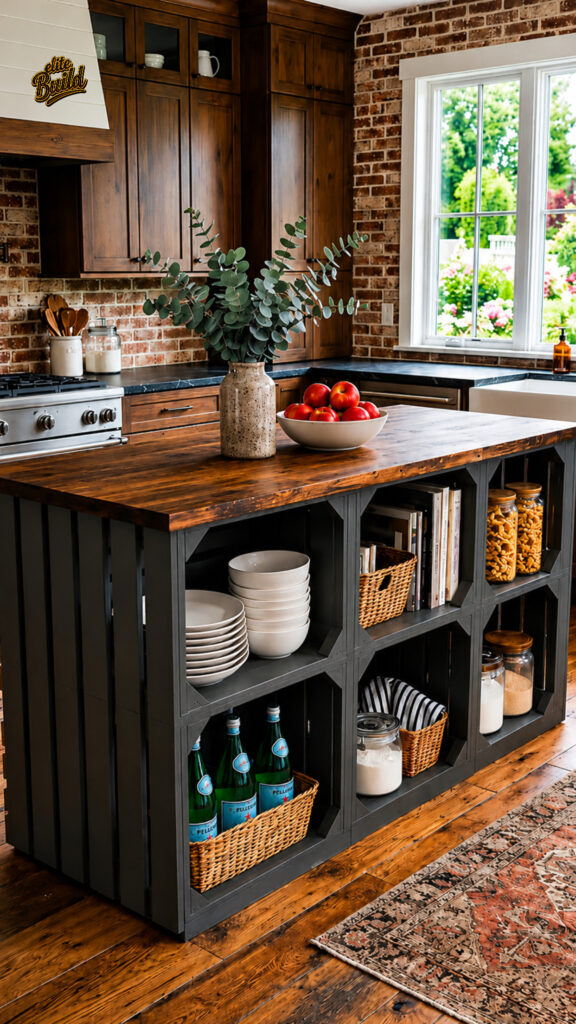
Want to transform your kitchen without spending hundreds of dollars? A DIY wooden crate kitchen island is one of the easiest and most affordable ways to add extra storage, workspace, and rustic charm to your home.
In this step-by-step guide, you’ll learn exactly how to build a beautiful farmhouse-style kitchen island using simple wooden crates and a solid wood countertop. This budget-friendly DIY project takes only 4–6 hours to complete and can save you hundreds of dollars compared to buying a custom-built kitchen island.
Project Overview
Difficulty: Intermediate
Estimated Time: 4–6 Hours
Estimated Savings: Up to $900 compared to purchasing a custom kitchen island.
Materials You’ll Need
- 6–8 sturdy wooden crates (depending on your desired island size)
- Solid wooden countertop slab
- Wood glue or construction adhesive
- Wood screws
- Wood stain or paint
- Power drill
- Glue gun
- Measuring tape
- Sandpaper
Step 1: Arrange the Wooden Crates
Lay the wooden crates on the floor in a rectangular layout with the open sides facing outward. This design creates built-in shelves for convenient kitchen storage while forming the base of your island.
Step 2: Build a Strong and Stable Base
Secure each crate to the next using wood screws through the side panels. Make sure everything is level and tightly fastened to create a durable foundation capable of supporting the countertop.
Step 3: Install the Wooden Countertop
Place the solid wooden countertop on top of the crate structure. Apply construction adhesive between the surfaces, then drive screws upward from inside the crates into the countertop to ensure a secure and professional finish.
Step 4: Sand and Finish
Smooth all rough edges with sandpaper before applying your preferred wood stain or paint. A quality finish not only enhances the appearance but also protects the wood from everyday wear.
Step 5: Organize Your Kitchen
Fill the open shelves with plates, bowls, storage baskets, cookbooks, jars, or decorative accessories. The result is a stylish and highly functional kitchen island with plenty of storage space.
Pro Tip
For added convenience, install heavy-duty locking caster wheels underneath the island. This allows you to move it easily for cleaning or rearranging your kitchen while keeping it securely in place when locked.
Final Thoughts
A DIY wooden crate kitchen island is an affordable woodworking project that combines style, functionality, and smart storage. In just a few hours, you can build a custom kitchen island that looks professionally made while saving hundreds of dollars. Whether you’re updating a farmhouse kitchen or adding extra workspace to a modern home, this project is an excellent choice for any DIY enthusiast.
READ MORE